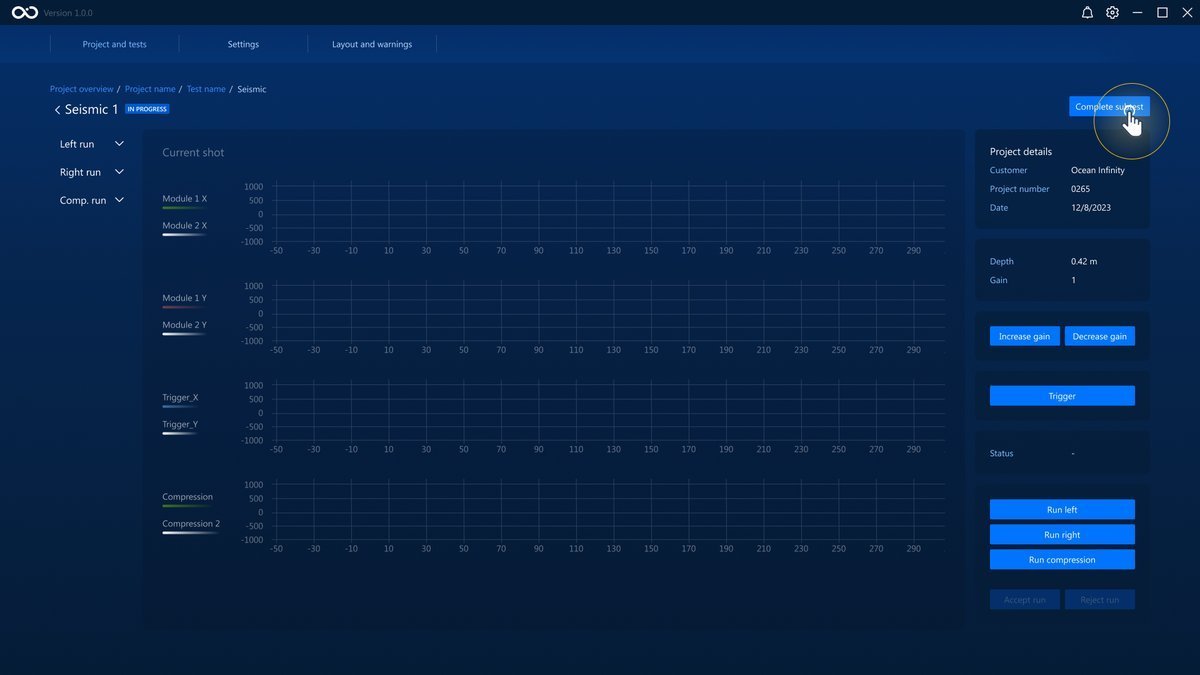
Subtests
You can create subtests in the Data Acquisition phase. There are two types of tests: Dissipation and Seismic. Whenever you run a subtest, the resistance tests' data acquisition will stop until you complete all running subtests. You can only run one subtest at a time.
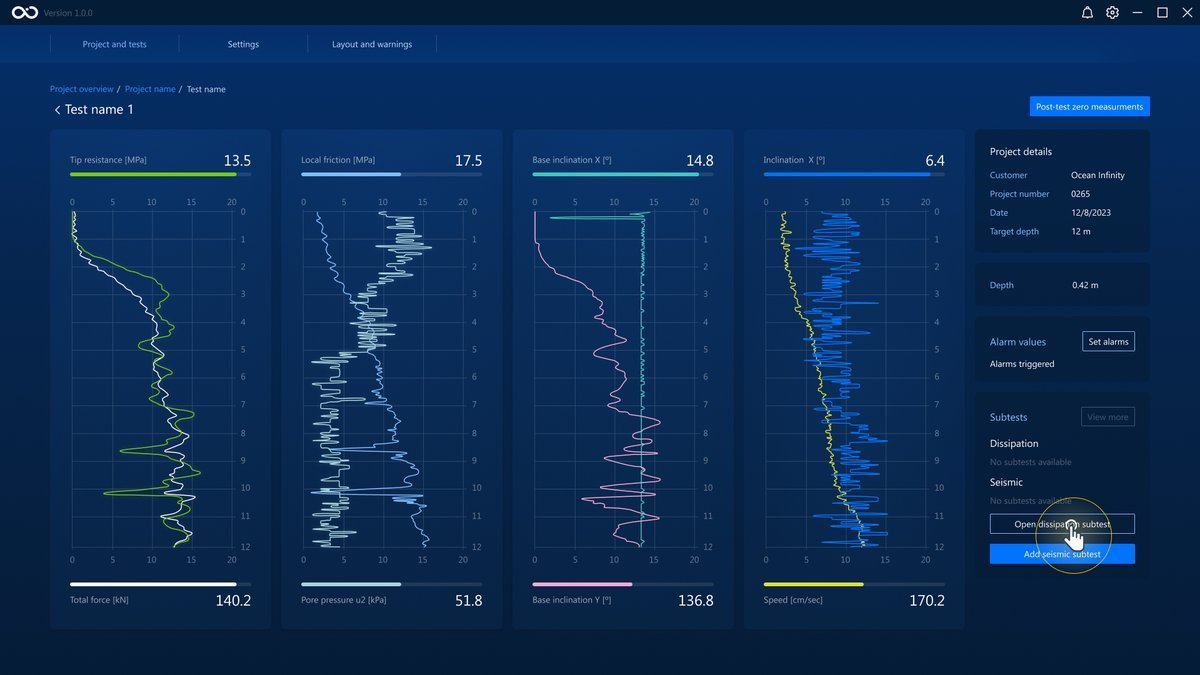
The image below shows the panel where you can see the completed and ongoing subtests. This panel can show up to 4 subtests.
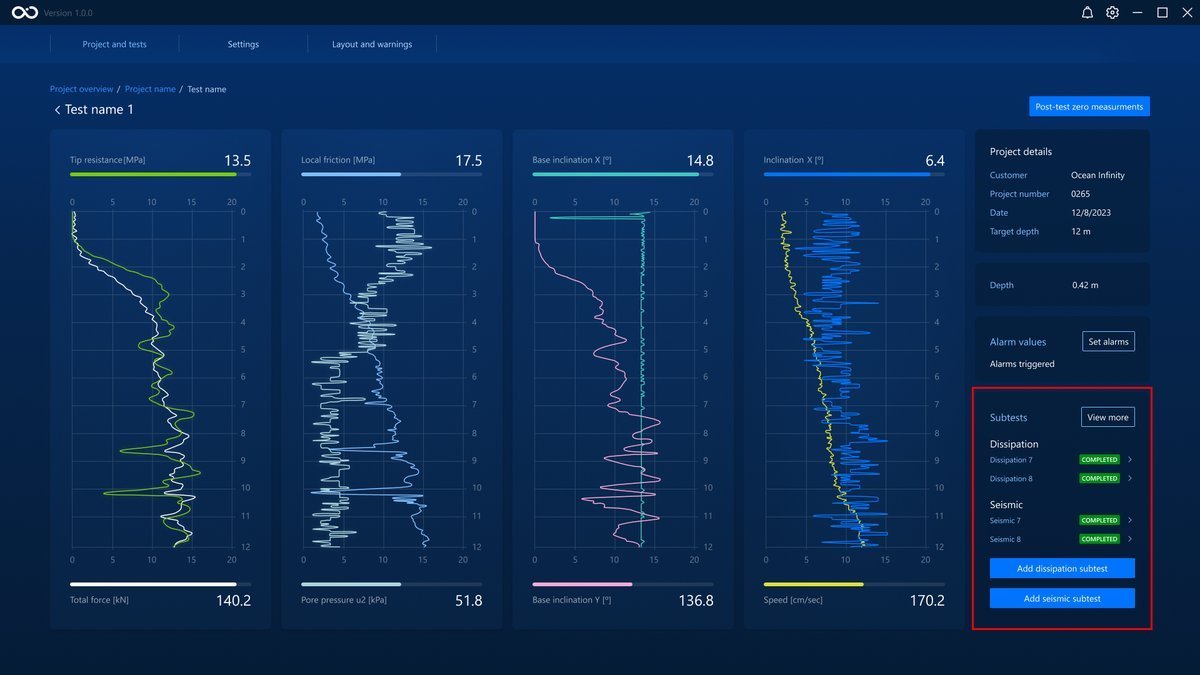
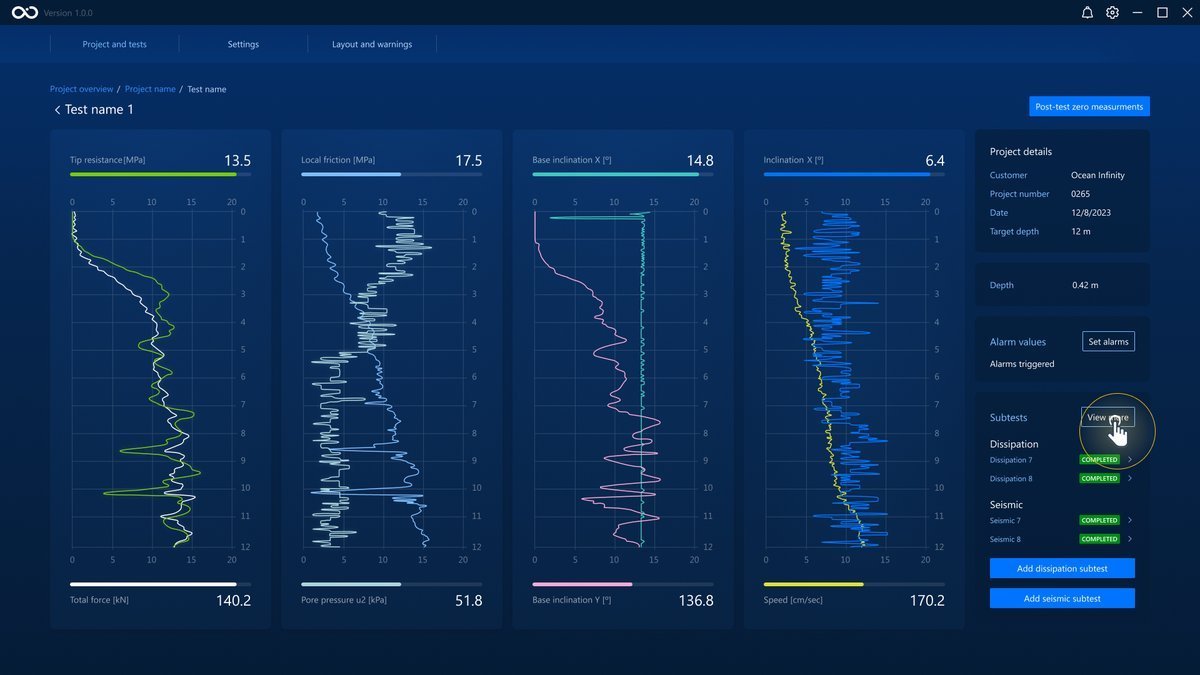
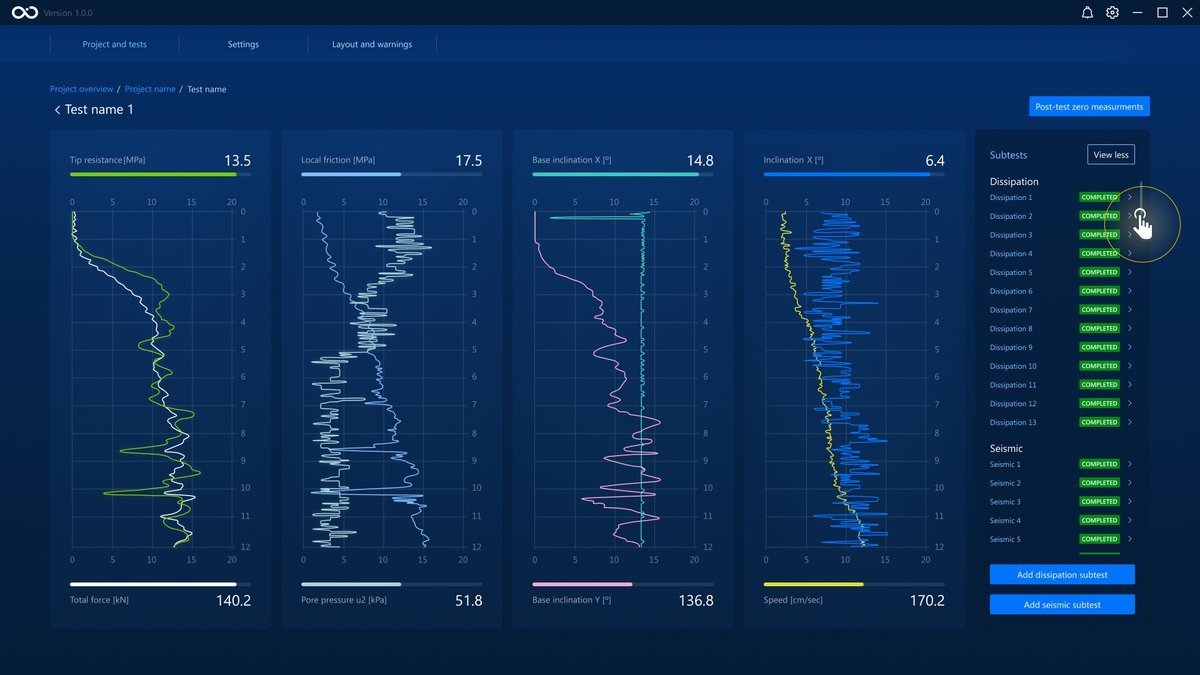
If you want to see all the subtests attached to a test, click on the View more . Clicking on a test will take you to the subtest page.
To go back to an ongoing subtest, click on the respective Open subtest button.
Dissipation Subtests
To start a dissipation subtest, click on the Add a dissipation subtest button.
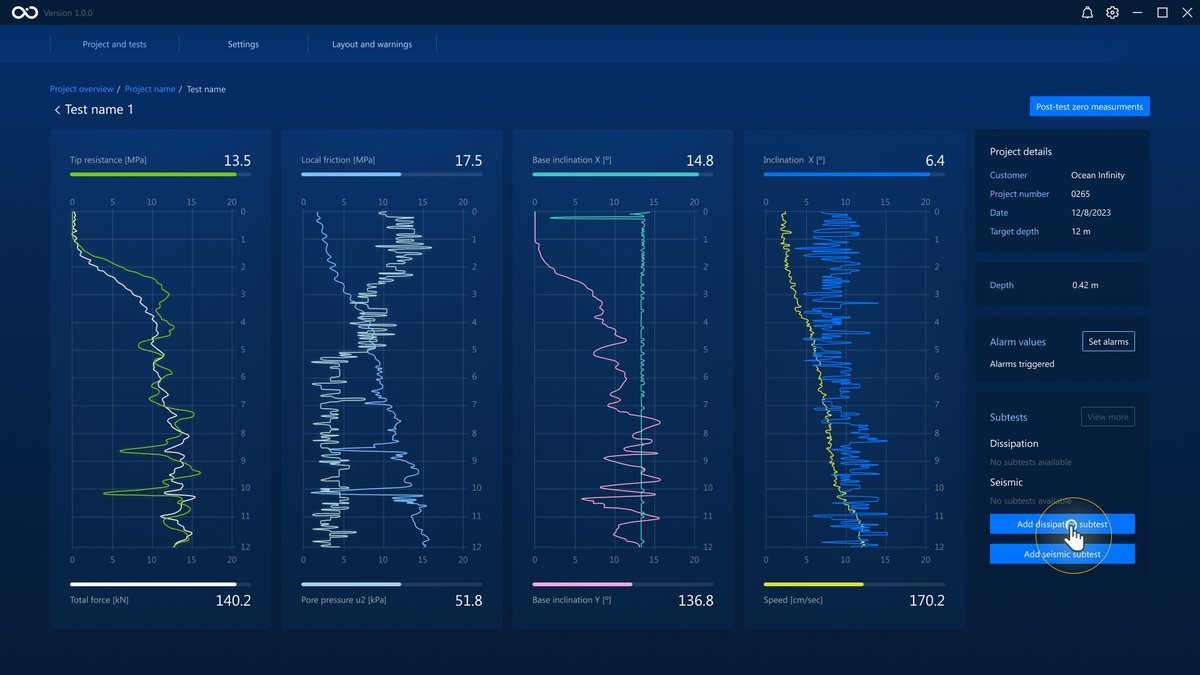
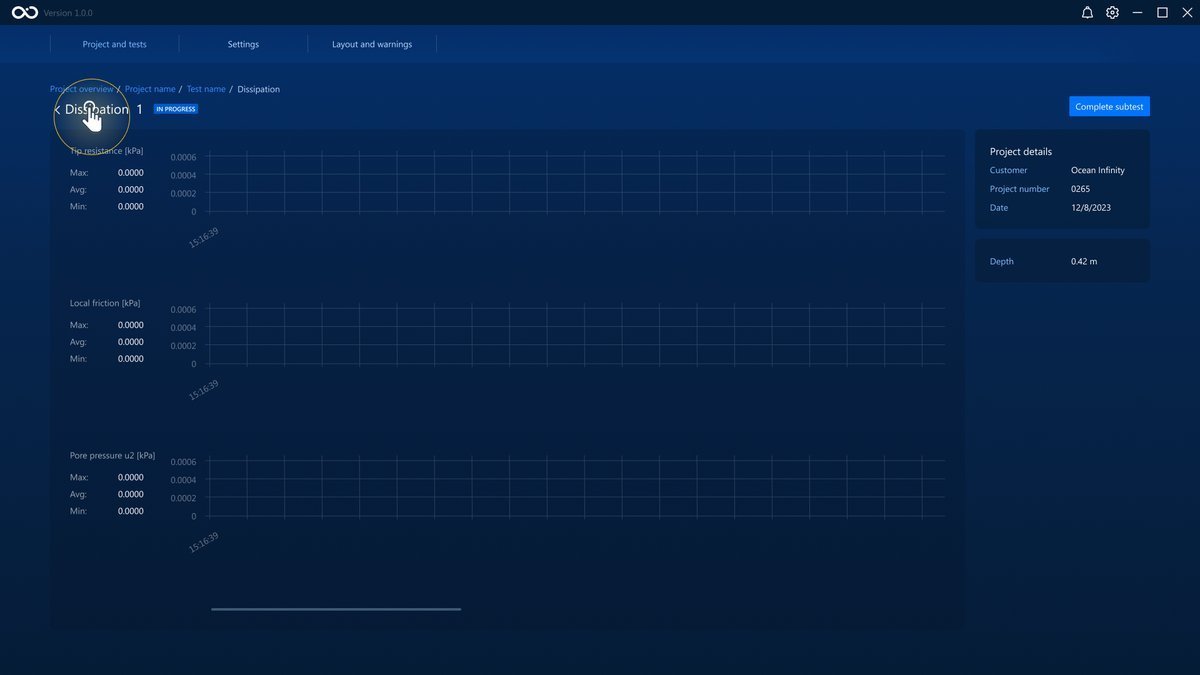
This will take you to the Dissipation Subtest page. The test will start automatically, and you should see data being plotted in the graphs.
You can go back to the Data Acquisition page while the subtest is ongoing. The subtest will continue in the background.
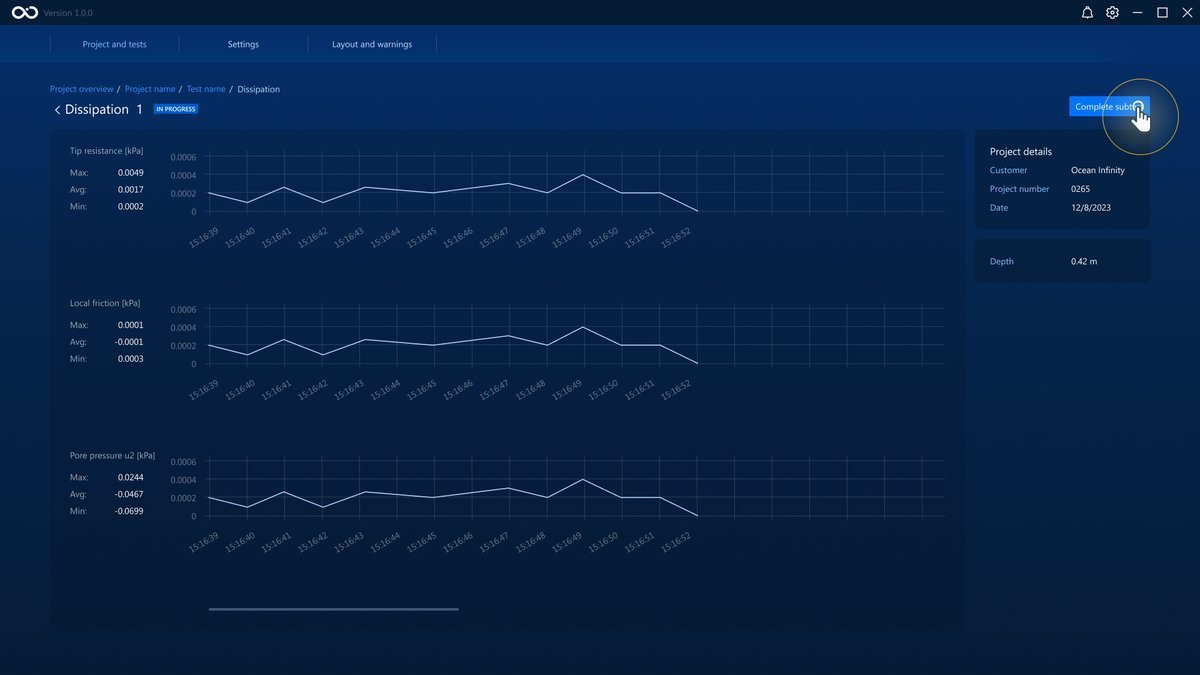
To finish the test, click on the Complete subtest button. This will take you back to the Data Acquisition page.
Seismic Subtests
To start a seismic subtest, click on the Add a seismic subtest button.
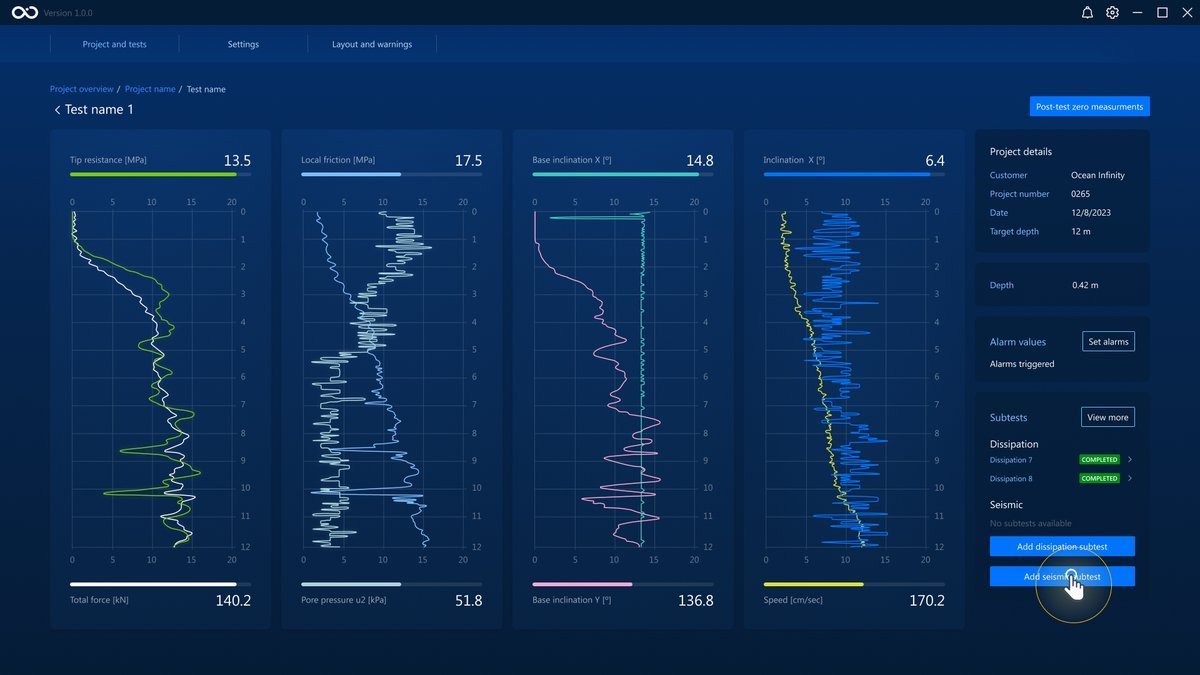
This will take you to the Seismic Subtest page. This type of test supports multiple shots.
You can return to the Data Acquisiton page unless there is an ongoing shot; the back button will be frozen in this case.
Before starting a shot, you can customize the gain by using the Increase gain and Decrease gain .
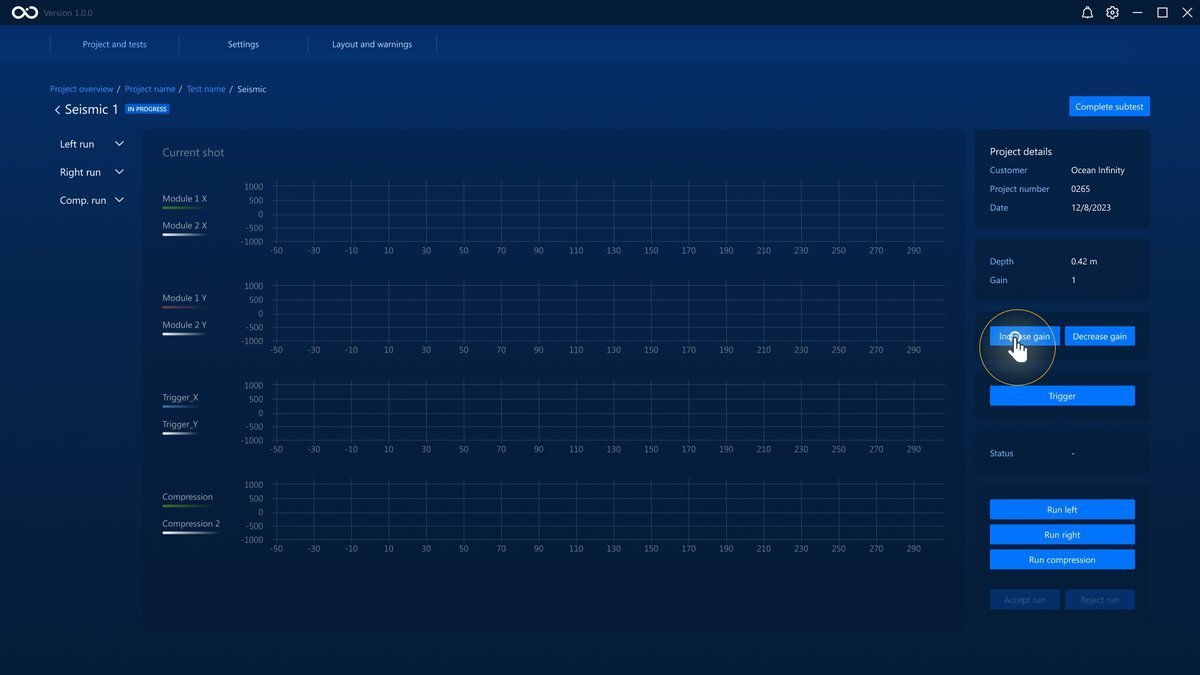
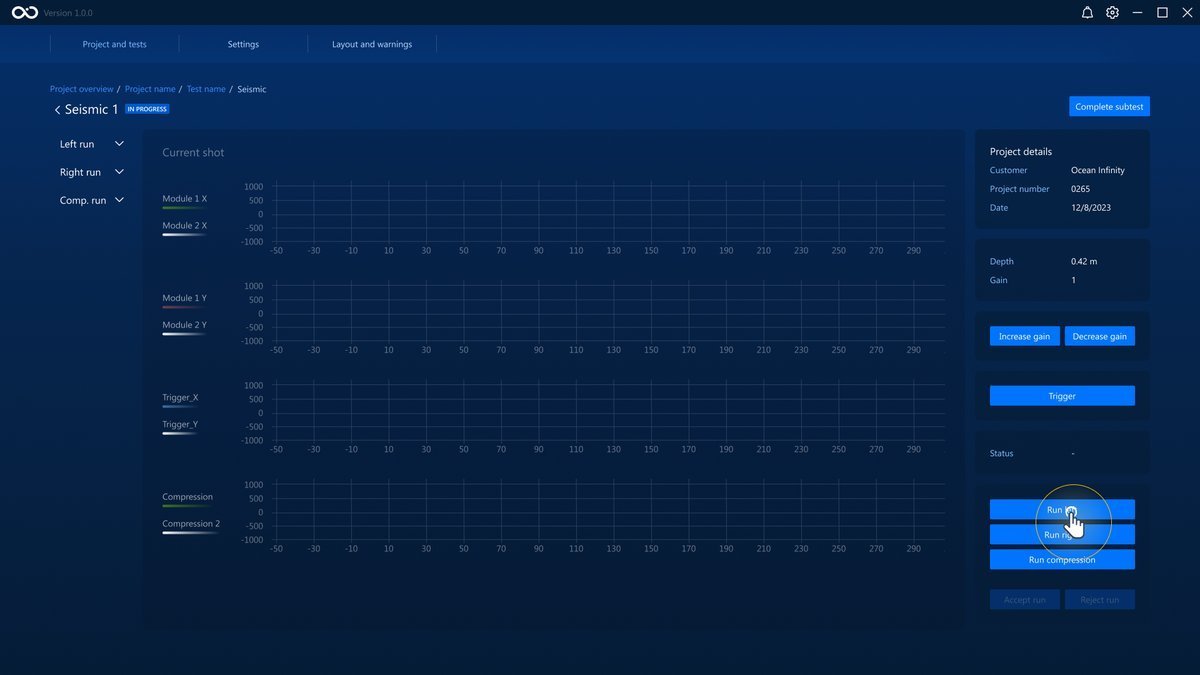
To start a shot, click on one of the three buttons on the bottom-right corner: Run left , Run right or Run compression . This will start plotting data on the graphs.
When the run is over, you can Accept run or Reject run by clicking on the respective buttons.
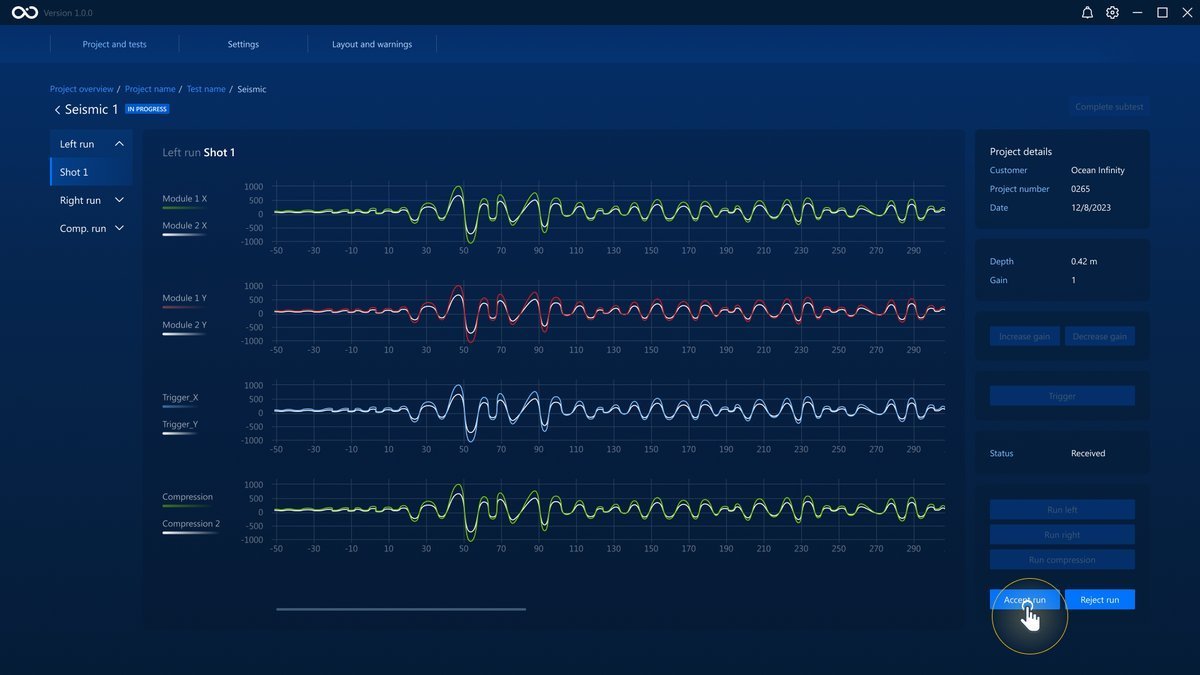
All completed runs will be stored and can be viewed by clicking on them on the panel to the left.
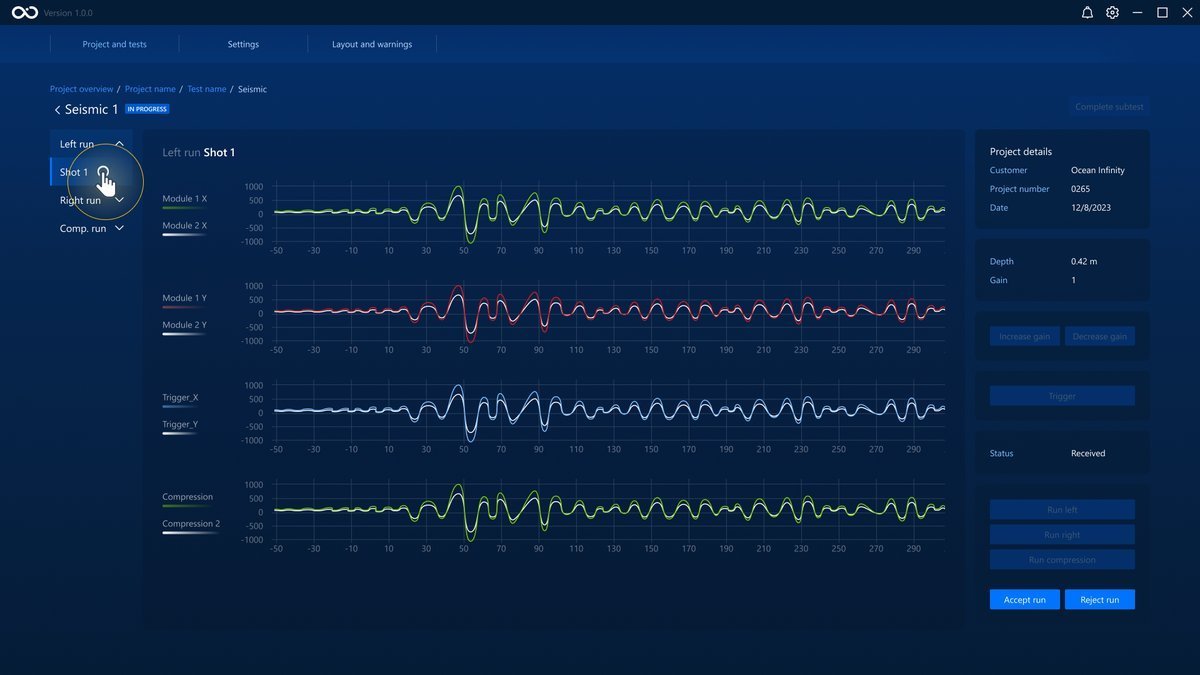
To complete the test, click on the Complete subtest button. This will take you back to the Data Acquisition page.